東京喰種トーキョーグール:reが無料で全巻読める漫画アプリってないの!?
と思っていませんか?そんなあなたのために「東京喰種トーキョーグール:re」が全巻読めるマンガアプリ・サイトを紹介します。
それではさっそく行きましょう。
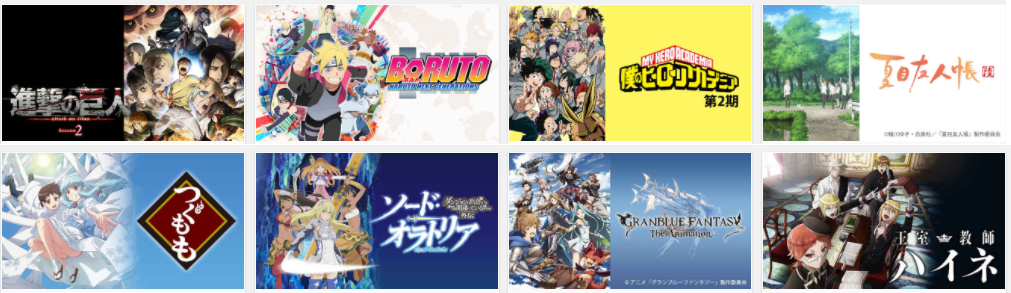
東京喰種トーキョーグール:reが全巻読める無料漫画アプリ・サイトは?
それがこの3つ。
![]()
↓この通り。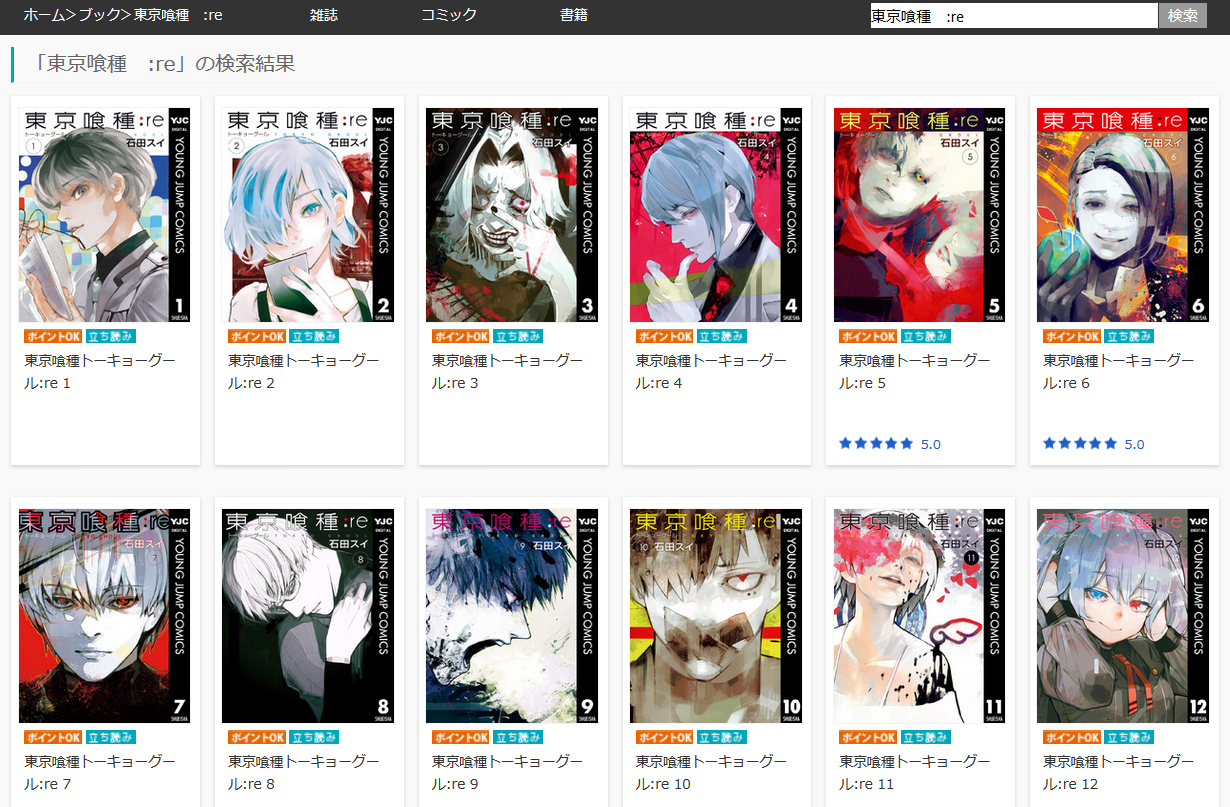
さくっと比較表にて。
| 配信 | 形式 | 特徴 | |
|---|---|---|---|
| 1位.U-NEXT オススメ! |
◯ 配信中 |
サイト型 | 無料登録 アニメも見れる |
| 2位.FOD オススメ! |
◯ 配信中 |
サイト型 | 無料登録 アニメも見れる |
| 3位.music.jp | ◯ 配信中 |
サイト型 | 無料登録 アニメも見れる |
| 4位.マンガBANG | ✕ 未配信 |
アプリ型 | - |
| 5位.マンガPark | ✕ 未配信 |
アプリ型 | - |
| 6位.マガポケ | ✕ 未配信 |
アプリ型 | - |
| 7位.ジャンプ+ | ✕ 未配信 |
アプリ型 | - |
| 8位.マンガワン | ✕ 未配信 |
アプリ型 | - |
| 9位.ピッコマ | ✕ 未配信 |
アプリ型 | - |
| 10位.マンガZERO | ✕ 未配信 |
アプリ型 | - |
これらはジャンプ系、マガジン系、サンデー系など出版社を問わず様々な漫画がラインナップされています。
特におすすめは「1位.U-NEXT」と「2位.music.jp」
この2つは初回登録時にもらえるポイントを使えば無料で漫画を読むことができます。
また、31日以内に解約すればお金は一切かからないので、ポイントだけをうまく使って完全無料で漫画を読みましょう。
なお、ポイントがもらえるのは今だけなので、とりあえず2つとも登録だけしておくとお得です。
読める作品は常に変わりますので、目的の漫画が読めるかどうかは必ずリンク先でお確かめください。
なぜ無料で読めるかはこちら。
本当に無料?仕組みを図解で説明
マンガもアニメも無料の「ユーネクスト」
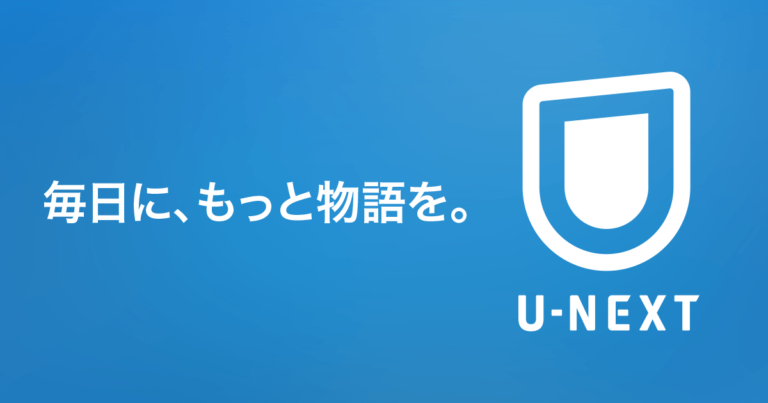
U-NEXTは無料で漫画が読める電子コミック。
実のところ、マンガを読むならユーネクストが最強。
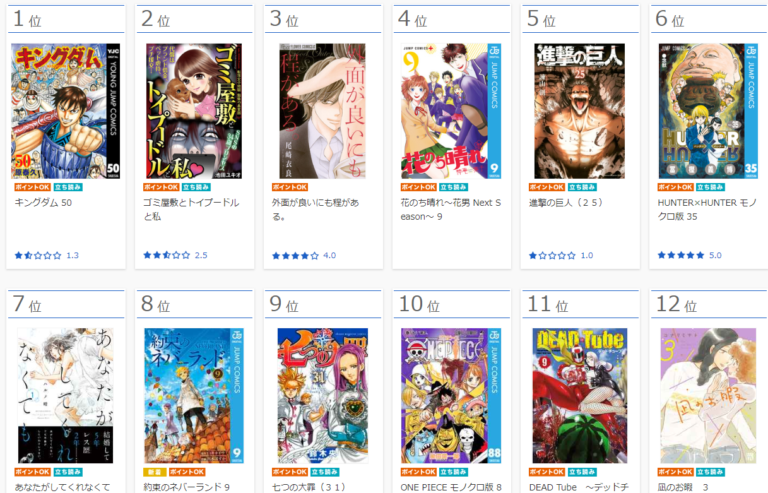
進撃の巨人、キングダム、ベルセルク、ONE PEICEなど超人気タイトルがダントツに多い。
↓こんな感じ。
アニメも2,000作品を見ることができます。
しかも登録から31日間は完全無料。31日以内に退会すれば料金は一切かかりません。
クレジットカードを登録する必要はありますが、安心してください。31日以内に解約さえすれば完全無料です。
マンガは初回登録時に加算される600ptや毎月付与される1,200ptをうまく使うことで無料で読むことができます。
100万人が使っている人気サービス。無料に興味がない人は登録しないでください。
登録は1分で終わるので悩んでる時間が損ですよ。
登録するなら今のうちが絶対おすすめ。


読める漫画の作品数は違うもの、music.jpやFODも同じ。漫画、アニメが見放題です。
無料期間や無料ポイントのある「U-NEXT」と「music.jp」は今のうちに登録だけでもしておいたほうがお得ですよ。
解約は30秒ほどで簡単にできます。詳細はこちら。
U-NEXTを解約する方法
漫画が無料で読み放題の「FOD」
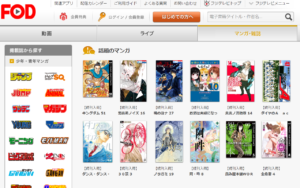
FODは動画配信サービス。でも電子コミックも相当数配信されています。
無料で読める漫画は2018年8月時点で1067件。話題のコミックも特集として無料配信されています。
有料の漫画も多くありますが、初回登録時にもらえるポイントを使うことで無料で読めちゃいます。
登録は簡単。Amazonアカウントなどを利用して簡単に登録できます。
解約は30秒ほどで簡単にできます。詳細はこちら。
FODを解約する方法
マンガが全巻無料で読み放題「music.jp」
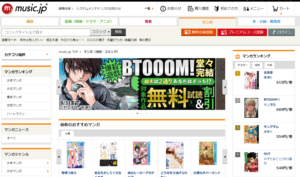
music.jpも無料コミックを配信しています。
会員登録することで付与されるポイントを活用すれば漫画を無料で読むことができます。最新刊もOK。
また、紙媒体で買うよりも少し価格が抑えられており、お得に購入出来るだけでなく、10%ポイント還元しているため10冊購入すると1冊分が実質無料になります。
最新刊を頻繁に購入するなんていう方は、music.jpの利用がお得かもしれませんね。
解約は30秒ほどで簡単にできます。詳細はこちら。
music.jpを解約する方法
漫画村とURL
wikiより引用。
2016年に「登録不要で完全無料な」漫画サイトとして開設された。違法コピーされた書籍をインターネットブラウザ上で誰でも無料で読むことができた。漫画の他に、雑誌、小説、写真集の海賊版を掲載していた。
漫画村のURLはこちら。
http://mangamura.org/
違法なので今はアクセスできなくなっています。
漫画村と言えば、Twitterの公式アカウントがつぶやいた下記のツイートが物議を醸しました。
いまだにDMで「復活まだ?」「はよ復活させろカス」みたいなメッセージが毎日届くんだけど、この国大丈夫なのか心配だよ。
まずこのアカウントが本物だと思ってることが知的底辺層。ネット辞めろ。向いてない。さらにモラル底辺層。違法サイト使うな。漫画買え。
— 漫画村【公式】 (@mangataun) 2019年1月4日
まんがタウンとURL
まんがタウンも漫画村の代わりとして期待されたサイトです。
まんがタウンのURLはこちら。
http://manga-town.net
同じくまんがタウンもアクセスできなくなっています。
まんがタウンと言えばさきほどと同じく、公式と思われていたアカウントの下記発言が物議を醸していました。
復活もなにも漫画村は一度も復活してないよ。漫画タウンに成長したっていうのはデマだよ。あれはもともと存在した別サイト。
メディアも勘違いしてそのまま流してたけど。ちゃんと調べて、正確に。
結局、あれだけ騒ぎになったのにまだ逮捕もされてない。なんだか闇が深いよね。
— 漫画村【公式】 (@mangataun) 2019年1月4日
漫画村の代わりとなると期待された山頂漫画村と漫画塔とまんが村ビレッジ
こちらは完全デマです。存在しないサイトです。
漫画村の代わりになる海外の違法サイトはある?
あるにはあるんですが、マイニングというウィルスが仕込まれるのが常套手段となっており、数万円もするスマホやPCを壊す危険を犯してまでアクセスする意味はないと思います。
漫画を無料で読んでもたかが数千円。スマホ、PCは数万円ですからね。
漫画村の代わりまとめ
結論を言えばこの3サイトに登録してもらうのがおすすめです。大体各サイトともに3冊ずつ無料で読めるので、全て登録すると無料で9冊相当読めます。
数冊で完結していれば全巻無料も夢ではないですからお得ですね。
| 配信 | 形式 | 特徴 | |
|---|---|---|---|
| 1位.U-NEXT オススメ! |
◯ 配信中 |
サイト型 | 無料登録 アニメも見れる |
| 2位.FOD オススメ! |
◯ 配信中 |
サイト型 | 無料登録 アニメも見れる |
| 3位.music.jp | ◯ 配信中 |
サイト型 | 無料登録 アニメも見れる |
| 4位.マンガBANG | ✕ 未配信 |
アプリ型 | - |
| 5位.マンガPark | ✕ 未配信 |
アプリ型 | - |
| 6位.マガポケ | ✕ 未配信 |
アプリ型 | - |
| 7位.ジャンプ+ | ✕ 未配信 |
アプリ型 | - |
| 8位.マンガワン | ✕ 未配信 |
アプリ型 | - |
| 9位.ピッコマ | ✕ 未配信 |
アプリ型 | - |
| 10位.マンガZERO | ✕ 未配信 |
アプリ型 | - |
詳細
東京グールre 漫画 無料
東京グール 漫画 全巻 無料
東京グール re 漫画タウン
東京喰種 re 漫画タウン
東京グール re 漫画 最新刊
東京グール 無料立ち読み
東京喰種 re 1巻 無料
東京グール 1巻 無料
東京グール無料漫画読み放題
東京グールre 漫画 全巻 無料
少々の時間に遊べるものとか、時間を取って力を抜いてプレイすることができるものがあるので、それぞれに馴染むアプリを探しあててみるといいでしょう。
現金だったり電子マネーを利用し、東京喰種トーキョーグール:re独特の仮想通貨を得ることで、従来とは比べ物にならないくらい力強い兵器や漫画を使うことが可能になります。
東京喰種トーキョーグール:re用の漫画アプリに表示されている広告を読むとか、アンケートに入力したりするだけで、謝礼としてガチャにチャレンジすることができるポイントをゲットすることができると言うわけです。
「東京喰種トーキョーグール:re読み放題のヒント」では、一般的な最新東京喰種トーキョーグール:reの読み放題法とは違う、より個人的なテーマや質問に対して、回答を探し出したり情報交換をしたりができるようになっているのです。
実際的に最新東京喰種トーキョーグール:reのFAQをリサーチすると、「現在有しているユニットにて○○○の読み放題を狙うのは無理でしょうか?」といった疑問が多く見られます。
ゲーム展開中に漫画などを獲得する際に支払うお金は、仮想通貨と呼ばれていますが、この仮想通貨は現実に携帯電話料金にプラスしてか、クレジットカード決済にて払うことによって持つことができるわけです。
ちょっと前までは分かりやすいパズルが王道だった東京喰種トーキョーグール:reではありますが、現在ではハイレベルのRPGや、アクションパズルないしは格闘など、高水準のゲームが世の中に浸透しています。
iPhoneまたはAndroid専用アプリゲーム、東京喰種トーキョーグール:re読み放題法や脱出ゲームの限った読み放題法、さらにはアプリレビューも含んで、様々にお知らせしていく予定です。
漫画アプリの中でも、全巻は長期間に亘って運営されてきており、仮想通貨(コイン)は、1万円を超す換金も可能だそうです。
東京喰種トーキョーグール:reとの相性も良いと聞いています。
スマホをネットに繋ぐことさえできれば、アプリをネットからDLすることが簡単にできますし、手軽に東京喰種トーキョーグール:reができます。
ひとつの東京喰種トーキョーグール:reがプレイされ続けるということはないようです。
その要因とは、無課金で行くとクリアすることができない局面が出てくる、課金ユーザーにチャレンジしても勝てるはずがないなどがあると考えられています。
東京喰種トーキョーグール:reの読み放題対策や耳より情報をチェックできるサイトです。
人気のゲームもしくはソーシャルゲームなどのクチコミを確かめることができるので、ご覧になってみてください。
何種類もの東京喰種トーキョーグール:reアプリが世の中に送り出されていますが、「無料で課金漫画を授与する!」などと標榜しているたちの悪い漫画アプリもないことはないので、ご注意ください。
訴求効果の大きいTVCMをきっかけに、アプリをダウンロードした利用者の方も20%強いて、TVCMのインパクトは、今の時代でも大きいものがあると思われます。
全巻が開発した「ドラコン」は無料になっていますが、プレイ次第でポイントが付与されますし、お金にも換金できるという、嘘偽りなく小遣い稼ぎ可能な東京喰種トーキョーグール:reだと言えるのではないでしょうか?