
暗殺教室が無料で全巻読める漫画アプリってないの!?
と思っていませんか?そんなあなたのために「暗殺教室」が全巻読めるマンガアプリ・サイトを紹介します。
それではさっそく行きましょう。
暗殺教室が全巻読める無料漫画アプリ・サイトは?
それがこの3つ。
![]()
↓この通り。
さくっと比較表にて。
| 配信 | 形式 | 特徴 | |
|---|---|---|---|
| 1位.U-NEXT オススメ! |
◯ 配信中 |
サイト型 | 無料登録 アニメも見れる |
| 2位.FOD オススメ! |
◯ 配信中 |
サイト型 | 無料登録 アニメも見れる |
| 3位.music.jp | ◯ 配信中 |
サイト型 | 無料登録 アニメも見れる |
| 4位.マンガBANG | ✕ 未配信 |
アプリ型 | - |
| 5位.マンガPark | ✕ 未配信 |
アプリ型 | - |
| 6位.マガポケ | ✕ 未配信 |
アプリ型 | - |
| 7位.ジャンプ+ | ✕ 未配信 |
アプリ型 | - |
| 8位.マンガワン | ✕ 未配信 |
アプリ型 | - |
| 9位.ピッコマ | ✕ 未配信 |
アプリ型 | - |
| 10位.マンガZERO | ✕ 未配信 |
アプリ型 | - |
これらはジャンプ系、マガジン系、サンデー系など出版社を問わず様々な漫画がラインナップされています。
特におすすめは「1位.U-NEXT」と「2位.music.jp」
この2つは初回登録時にもらえるポイントを使えば無料で漫画を読むことができます。
また、31日以内に解約すればお金は一切かからないので、ポイントだけをうまく使って完全無料で漫画を読みましょう。
なお、ポイントがもらえるのは今だけなので、とりあえず2つとも登録だけしておくとお得です。
読める作品は常に変わりますので、目的の漫画が読めるかどうかは必ずリンク先でお確かめください。
なぜ無料で読めるかはこちら。
本当に無料?仕組みを図解で説明
マンガもアニメも無料の「ユーネクスト」
U-NEXTは無料で漫画が読める電子コミック。
実のところ、マンガを読むならユーネクストが最強。
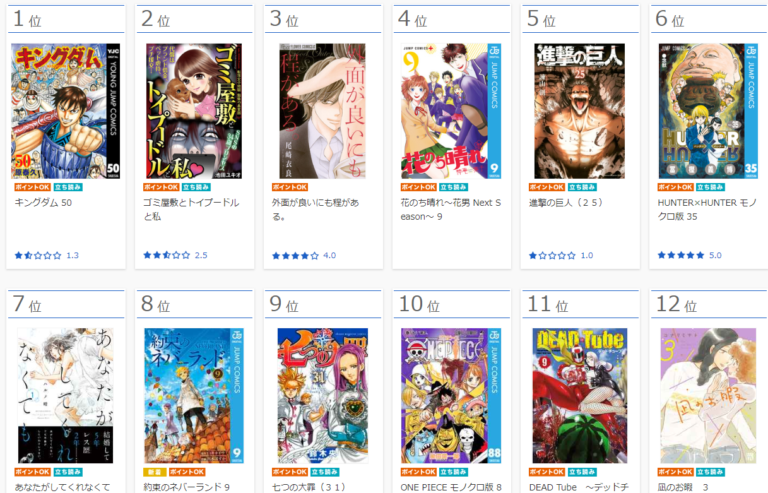
進撃の巨人、キングダム、ベルセルク、ONE PEICEなど超人気タイトルがダントツに多い。
↓こんな感じ。
アニメも2,000作品を見ることができます。

しかも登録から31日間は完全無料。31日以内に退会すれば料金は一切かかりません。
クレジットカードを登録する必要はありますが、安心してください。31日以内に解約さえすれば完全無料です。
マンガは初回登録時に加算される600ptや毎月付与される1,200ptをうまく使うことで無料で読むことができます。
100万人が使っている人気サービス。無料に興味がない人は登録しないでください。
登録は1分で終わるので悩んでる時間が損ですよ。
登録するなら今のうちが絶対おすすめ。


読める漫画の作品数は違うもの、music.jpやFODも同じ。漫画、アニメが見放題です。
無料期間や無料ポイントのある「U-NEXT」と「music.jp」は今のうちに登録だけでもしておいたほうがお得ですよ。
解約は30秒ほどで簡単にできます。詳細はこちら。
U-NEXTを解約する方法
漫画が無料で読み放題の「FOD」
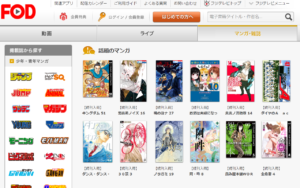
FODは動画配信サービス。でも電子コミックも相当数配信されています。
無料で読める漫画は2018年8月時点で1067件。話題のコミックも特集として無料配信されています。
有料の漫画も多くありますが、初回登録時にもらえるポイントを使うことで無料で読めちゃいます。
登録は簡単。Amazonアカウントなどを利用して簡単に登録できます。
解約は30秒ほどで簡単にできます。詳細はこちら。
FODを解約する方法
マンガが全巻無料で読み放題「music.jp」
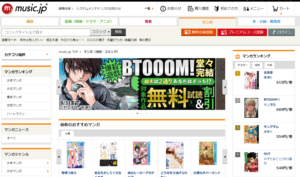
music.jpも無料コミックを配信しています。
会員登録することで付与されるポイントを活用すれば漫画を無料で読むことができます。最新刊もOK。
また、紙媒体で買うよりも少し価格が抑えられており、お得に購入出来るだけでなく、10%ポイント還元しているため10冊購入すると1冊分が実質無料になります。
最新刊を頻繁に購入するなんていう方は、music.jpの利用がお得かもしれませんね。
解約は30秒ほどで簡単にできます。詳細はこちら。
music.jpを解約する方法
漫画村とURL
wikiより引用。
2016年に「登録不要で完全無料な」漫画サイトとして開設された。違法コピーされた書籍をインターネットブラウザ上で誰でも無料で読むことができた。漫画の他に、雑誌、小説、写真集の海賊版を掲載していた。
漫画村のURLはこちら。
http://mangamura.org/
違法なので今はアクセスできなくなっています。
漫画村と言えば、Twitterの公式アカウントがつぶやいた下記のツイートが物議を醸しました。
いまだにDMで「復活まだ?」「はよ復活させろカス」みたいなメッセージが毎日届くんだけど、この国大丈夫なのか心配だよ。
まずこのアカウントが本物だと思ってることが知的底辺層。ネット辞めろ。向いてない。さらにモラル底辺層。違法サイト使うな。漫画買え。
— 漫画村【公式】 (@mangataun) 2019年1月4日
まんがタウンとURL
まんがタウンも漫画村の代わりとして期待されたサイトです。
まんがタウンのURLはこちら。
http://manga-town.net
同じくまんがタウンもアクセスできなくなっています。
まんがタウンと言えばさきほどと同じく、公式と思われていたアカウントの下記発言が物議を醸していました。
復活もなにも漫画村は一度も復活してないよ。漫画タウンに成長したっていうのはデマだよ。あれはもともと存在した別サイト。
メディアも勘違いしてそのまま流してたけど。ちゃんと調べて、正確に。
結局、あれだけ騒ぎになったのにまだ逮捕もされてない。なんだか闇が深いよね。
— 漫画村【公式】 (@mangataun) 2019年1月4日
漫画村の代わりとなると期待された山頂漫画村と漫画塔とまんが村ビレッジ
こちらは完全デマです。存在しないサイトです。
漫画村の代わりになる海外の違法サイトはある?
あるにはあるんですが、マイニングというウィルスが仕込まれるのが常套手段となっており、数万円もするスマホやPCを壊す危険を犯してまでアクセスする意味はないと思います。
漫画を無料で読んでもたかが数千円。スマホ、PCは数万円ですからね。
漫画村の代わりまとめ
結論を言えばこの3サイトに登録してもらうのがおすすめです。大体各サイトともに3冊ずつ無料で読めるので、全て登録すると無料で9冊相当読めます。
数冊で完結していれば全巻無料も夢ではないですからお得ですね。
| 配信 | 形式 | 特徴 | |
|---|---|---|---|
| 1位.U-NEXT オススメ! |
◯ 配信中 |
サイト型 | 無料登録 アニメも見れる |
| 2位.FOD オススメ! |
◯ 配信中 |
サイト型 | 無料登録 アニメも見れる |
| 3位.music.jp | ◯ 配信中 |
サイト型 | 無料登録 アニメも見れる |
| 4位.マンガBANG | ✕ 未配信 |
アプリ型 | - |
| 5位.マンガPark | ✕ 未配信 |
アプリ型 | - |
| 6位.マガポケ | ✕ 未配信 |
アプリ型 | - |
| 7位.ジャンプ+ | ✕ 未配信 |
アプリ型 | - |
| 8位.マンガワン | ✕ 未配信 |
アプリ型 | - |
| 9位.ピッコマ | ✕ 未配信 |
アプリ型 | - |
| 10位.マンガZERO | ✕ 未配信 |
アプリ型 | - |
詳細
暗殺教室 ネタバレ
暗殺教室 キャラクター
暗殺教室 実写
暗殺教室 アニメ
暗殺教室 声優
暗殺教室 キャスト
暗殺教室 渚
暗殺教室 カルマ
暗殺教室 カエデ
暗殺教室 映画
ソーシャルゲームに関して言えば、不具合が出た時や「工事中」などに案内時に、漫画が提供されるようになっているものが多々あります。
これは機嫌をそこねたユーザーをゲームに戻す為の対策でもあるのです。
スマホをネットに繋ぎさえすれば、アプリをネットからDLして、手を煩わせることなく暗殺教室を堪能できます。
アプリについて言えば、GooglePlayを先頭に信頼に足る公式サイト経由でのみインストールすることが大事でしょうね。
しかも、スマートフォンにもセキュリティソフトを入れた方が安心です。
アプリをDLする際は、管理会社や利用者の口コミを確かめることも忘れてはなりません。
それによって、アプリが満足できるものかどうかがわかります。
暗殺教室読み放題のテクニックや耳より情報をみることができるHPです。
多岐に亘るゲームやソーシャルゲームなどのコメントを目にすることができるので、ご覧になってみてください。
当たり前ですが、無課金ないしはほんの少しだけ課金するユーザーといいますのが、マーケットの90%位を占めており、移動時間などにちょっとやっているだけなので、同じ暗殺教室が長期間愛されることはほとんどありません。
暗殺教室用の漫画アプリに表示されている広告をクリックするとか、アンケートに協力したりするだけで、謝礼としてガチャを引くことができるポイントを確保することができるようになっています。
無課金であっても満喫できる最新暗殺教室はわんさかあると言えますが、その中にあっても超人気のゲームということになると、「パズル&ドラゴンズ」や「モンスターストライク」といったRPG系のゲームではないかと思います。
現時点で人気が集中しているスマホアプリは、キャラクターを育て上げるゲームだと言えます。
個人個人の考え方に沿って育て上げることが可能になっているという点で、人気があると考えられています。
実を言いますと、プレイの料金が無料の暗殺教室は、総数から見たらわずかなパーセンテージのユーザーの課金があるからこそ存続できているもので、0.3パ-セント弱のプレイヤーが、全売り上げ高の65パーセントほどを生んでいると聞いています。
ゲームで使う無料漫画が欲しい、人気のあるゲームの読み放題法を掴みたいなどという人に対して、ここでしか得られない漫画や読み放題法を豊富にご紹介しております。
押しなべてSNSを用いて提供され、PCまたはスマホで無理なくプレイに入ることができるソーシャルゲームは人気も非常に高く、アクションとかRPGなど広範囲に亘るジャンルがあるのです。
今時のスマートフォンに最適の、専用のアプリケーションがかなりの数披露されており、大満足必至の暗殺教室アプリケーションも豊富にあります。
暗殺教室には必須の課金代を、無料で確保する方法を教示します。
アプリゲームを代表とする漫画課金代を無料でゲットして、ますます暗殺教室を楽しみましょう。
現金あるいは電子マネーを使用して、暗殺教室オリジナルの仮想通貨を得ることで、今迄より頼りになる兵器や漫画を効率良く使うことが可能になるのです。