キングダムが無料で全巻読める漫画アプリってないの!?
と思っていませんか?そんなあなたのために「キングダム」が全巻読めるマンガアプリ・サイトを紹介します。
それではさっそく行きましょう。
キングダムが全巻読める無料漫画アプリ・サイトは?
それがこの3つ。
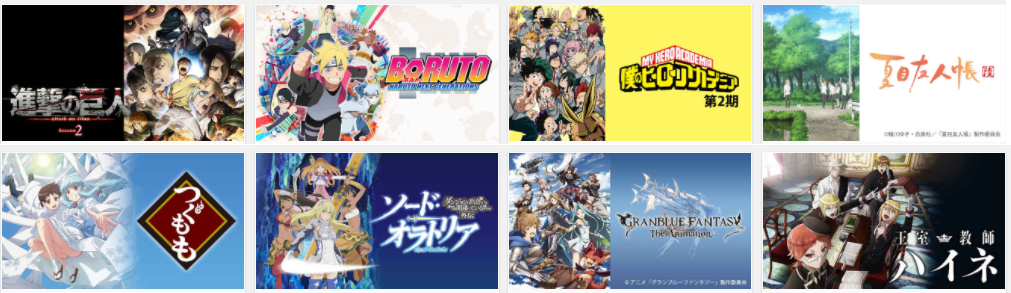
![]()
↓この通り。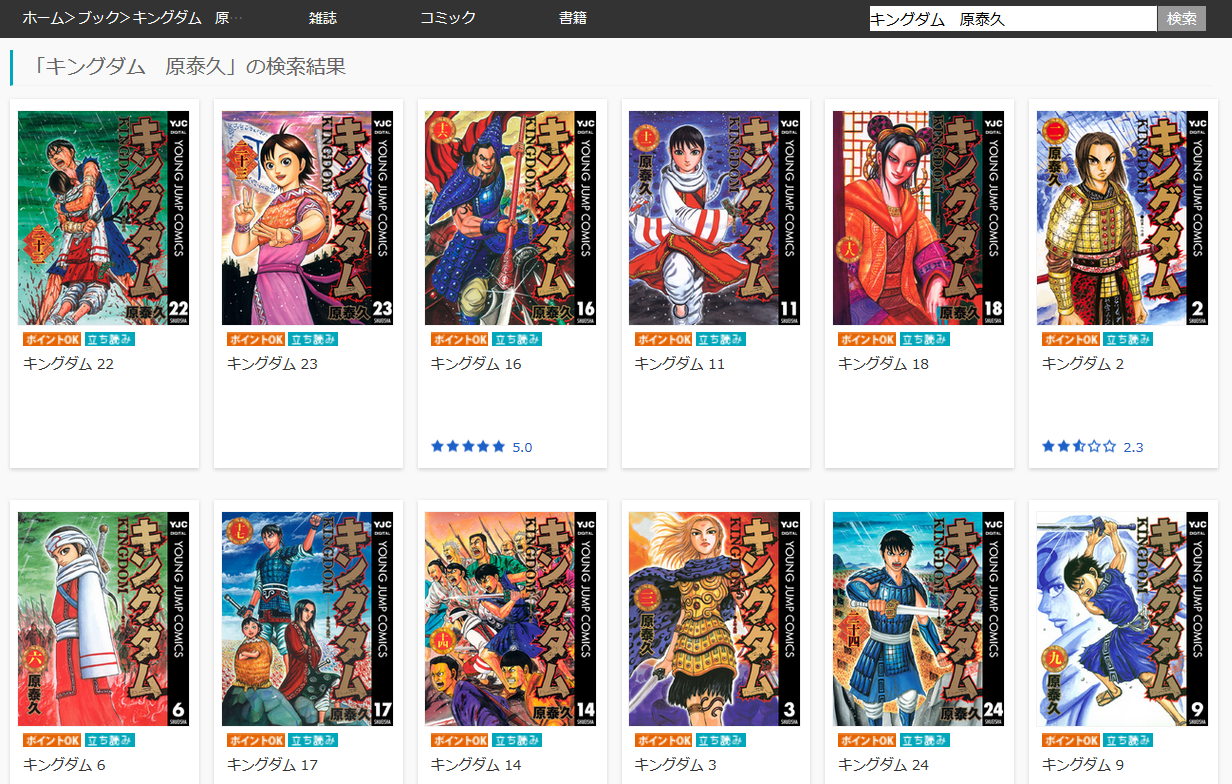
さくっと比較表にて。
| 配信 | 形式 | 特徴 | |
|---|---|---|---|
| 1位.U-NEXT オススメ! |
◯ 配信中 |
サイト型 | 無料登録 アニメも見れる |
| 2位.FOD オススメ! |
◯ 配信中 |
サイト型 | 無料登録 アニメも見れる |
| 3位.music.jp | ◯ 配信中 |
サイト型 | 無料登録 アニメも見れる |
| 4位.マンガBANG | ✕ 未配信 |
アプリ型 | - |
| 5位.マンガPark | ✕ 未配信 |
アプリ型 | - |
| 6位.マガポケ | ✕ 未配信 |
アプリ型 | - |
| 7位.ジャンプ+ | ✕ 未配信 |
アプリ型 | - |
| 8位.マンガワン | ✕ 未配信 |
アプリ型 | - |
| 9位.ピッコマ | ✕ 未配信 |
アプリ型 | - |
| 10位.マンガZERO | ✕ 未配信 |
アプリ型 | - |
これらはジャンプ系、マガジン系、サンデー系など出版社を問わず様々な漫画がラインナップされています。
特におすすめは「1位.U-NEXT」と「2位.music.jp」
この2つは初回登録時にもらえるポイントを使えば無料で漫画を読むことができます。
また、31日以内に解約すればお金は一切かからないので、ポイントだけをうまく使って完全無料で漫画を読みましょう。
なお、ポイントがもらえるのは今だけなので、とりあえず2つとも登録だけしておくとお得です。
読める作品は常に変わりますので、目的の漫画が読めるかどうかは必ずリンク先でお確かめください。
なぜ無料で読めるかはこちら。
本当に無料?仕組みを図解で説明
マンガもアニメも無料の「ユーネクスト」
U-NEXTは無料で漫画が読める電子コミック。
実のところ、マンガを読むならユーネクストが最強。
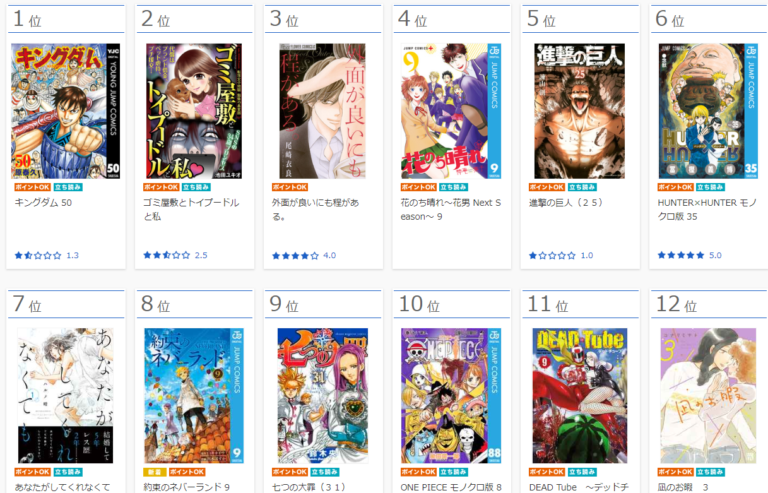
進撃の巨人、キングダム、ベルセルク、ONE PEICEなど超人気タイトルがダントツに多い。
↓こんな感じ。
アニメも2,000作品を見ることができます。
しかも登録から31日間は完全無料。31日以内に退会すれば料金は一切かかりません。
クレジットカードを登録する必要はありますが、安心してください。31日以内に解約さえすれば完全無料です。
マンガは初回登録時に加算される600ptや毎月付与される1,200ptをうまく使うことで無料で読むことができます。
100万人が使っている人気サービス。無料に興味がない人は登録しないでください。
登録は1分で終わるので悩んでる時間が損ですよ。
登録するなら今のうちが絶対おすすめ。


読める漫画の作品数は違うもの、music.jpやFODも同じ。漫画、アニメが見放題です。
無料期間や無料ポイントのある「U-NEXT」と「music.jp」は今のうちに登録だけでもしておいたほうがお得ですよ。
解約は30秒ほどで簡単にできます。詳細はこちら。
U-NEXTを解約する方法
漫画が無料で読み放題の「FOD」
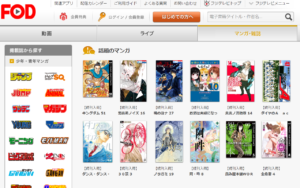
FODは動画配信サービス。でも電子コミックも相当数配信されています。
無料で読める漫画は2018年8月時点で1067件。話題のコミックも特集として無料配信されています。
有料の漫画も多くありますが、初回登録時にもらえるポイントを使うことで無料で読めちゃいます。
登録は簡単。Amazonアカウントなどを利用して簡単に登録できます。
解約は30秒ほどで簡単にできます。詳細はこちら。
FODを解約する方法
マンガが全巻無料で読み放題「music.jp」
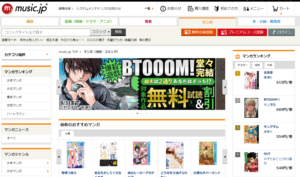
music.jpも無料コミックを配信しています。
会員登録することで付与されるポイントを活用すれば漫画を無料で読むことができます。最新刊もOK。
また、紙媒体で買うよりも少し価格が抑えられており、お得に購入出来るだけでなく、10%ポイント還元しているため10冊購入すると1冊分が実質無料になります。
最新刊を頻繁に購入するなんていう方は、music.jpの利用がお得かもしれませんね。
解約は30秒ほどで簡単にできます。詳細はこちら。
music.jpを解約する方法
漫画村とURL
wikiより引用。
2016年に「登録不要で完全無料な」漫画サイトとして開設された。違法コピーされた書籍をインターネットブラウザ上で誰でも無料で読むことができた。漫画の他に、雑誌、小説、写真集の海賊版を掲載していた。
漫画村のURLはこちら。
http://mangamura.org/
違法なので今はアクセスできなくなっています。
漫画村と言えば、Twitterの公式アカウントがつぶやいた下記のツイートが物議を醸しました。
いまだにDMで「復活まだ?」「はよ復活させろカス」みたいなメッセージが毎日届くんだけど、この国大丈夫なのか心配だよ。
まずこのアカウントが本物だと思ってることが知的底辺層。ネット辞めろ。向いてない。さらにモラル底辺層。違法サイト使うな。漫画買え。
— 漫画村【公式】 (@mangataun) 2019年1月4日
まんがタウンとURL
まんがタウンも漫画村の代わりとして期待されたサイトです。
まんがタウンのURLはこちら。
http://manga-town.net
同じくまんがタウンもアクセスできなくなっています。
まんがタウンと言えばさきほどと同じく、公式と思われていたアカウントの下記発言が物議を醸していました。
復活もなにも漫画村は一度も復活してないよ。漫画タウンに成長したっていうのはデマだよ。あれはもともと存在した別サイト。
メディアも勘違いしてそのまま流してたけど。ちゃんと調べて、正確に。
結局、あれだけ騒ぎになったのにまだ逮捕もされてない。なんだか闇が深いよね。
— 漫画村【公式】 (@mangataun) 2019年1月4日
漫画村の代わりとなると期待された山頂漫画村と漫画塔とまんが村ビレッジ
こちらは完全デマです。存在しないサイトです。
漫画村の代わりになる海外の違法サイトはある?
あるにはあるんですが、マイニングというウィルスが仕込まれるのが常套手段となっており、数万円もするスマホやPCを壊す危険を犯してまでアクセスする意味はないと思います。
漫画を無料で読んでもたかが数千円。スマホ、PCは数万円ですからね。
漫画村の代わりまとめ
結論を言えばこの3サイトに登録してもらうのがおすすめです。大体各サイトともに3冊ずつ無料で読めるので、全て登録すると無料で9冊相当読めます。
数冊で完結していれば全巻無料も夢ではないですからお得ですね。
| 配信 | 形式 | 特徴 | |
|---|---|---|---|
| 1位.U-NEXT オススメ! |
◯ 配信中 |
サイト型 | 無料登録 アニメも見れる |
| 2位.FOD オススメ! |
◯ 配信中 |
サイト型 | 無料登録 アニメも見れる |
| 3位.music.jp | ◯ 配信中 |
サイト型 | 無料登録 アニメも見れる |
| 4位.マンガBANG | ✕ 未配信 |
アプリ型 | - |
| 5位.マンガPark | ✕ 未配信 |
アプリ型 | - |
| 6位.マガポケ | ✕ 未配信 |
アプリ型 | - |
| 7位.ジャンプ+ | ✕ 未配信 |
アプリ型 | - |
| 8位.マンガワン | ✕ 未配信 |
アプリ型 | - |
| 9位.ピッコマ | ✕ 未配信 |
アプリ型 | - |
| 10位.マンガZERO | ✕ 未配信 |
アプリ型 | - |
詳細
キングダム 無料ダウンロード
キングダム 無料立ち読み
キングダム無料読み放題
キングダム 漫画タウン
キングダム 無料 50
キングダム 1巻 無料
キングダム 漫画 10巻 無料
キングダム 50巻 無料
キングダム 電子書籍 49
キングダム 漫画 全巻 無料
オフィシャルWEBサイトから無料でキングダムをDLすると言うくらいなら、漫画アプリを活かした方が、少々我々ゲームプレーヤーにもお得な事がありますから、おすすめしておきたいと思います。
信じられないかもしれませんが、無料キングダムで遊んでいるだけで、ポイントが増加していきますので、無料で課金ガチャを回してみたいという方には、ピッタリだと思われます。
粗方の最新キングダムは、チュートリアルが終了したら、ガチャをやることができると聞いています。
自明のことですが、始めからレアなキャラクターを獲得することはあろうはずもありません。
キングダムにおいてガチャを引く時には、どうしても課金されるということが必要です。
ではありますが、一方で「無料でガチャを引くことだってできる方法がある。
」と言い切る人もいます。
キングダムもダウンロードしてもらえなければ、何の意味もありませんので、漫画アプリにギャランティを納めることにより、そこでダウンロードしてもらうような内情になっているということです。
当たり前ですが、無課金または僅かな課金をするユーザーといいますのが、マーケットの90%近くになっていて、時間つぶしにちょっとやっているだけなので、同じキングダムがずっと継続することはないと言えそうです。
日本にあるキングダムの売り上げのほぼ全ては、アプリ内で売買が成立する課金であり、これと言うのは総じて、ガチャを行なうための仮想通貨を所有するために支払うお金だと聞いています。
「無料でキングダムにチャレンジしたい!」、「大人気のアプリをずっとやりたい!」と望んでいる人用に、一歩先行く無料キングダムの最新情報をご披露いたします。
クレジットカード又は携帯電話会社を活用しての支払いにとどまらず、キングダム内で利用できる仮想通貨使用も許されるし、コンビニ決済も可能ですから、飲み物をゲットするのと併せて、ゲーム課金までできるという便利さです。
僅かずつ貯め込んできたポイントを、お金であったりiTunesギフトコードなどに替えるようにしたら、最新キングダムのガチャを、現実は無料でやることが可能になります。
現在のところ一番人気のスマホアプリは、キャラクターを育成していくゲームではないでしょうか?それぞれの考え通りに育てることができるという部分で、人気があるのだと思います。
新しいものがひっきりなしに投入されている無料キングダムは、展開していくと手強い敵が立ち塞がることで、クリアするのが困難になり、ゲームを読み放題していくには助っ人となり得る味方が必要になってくるシチュエーションが出てくるでしょう。
ゲームで活用できる無料漫画が欲しい、人気が上がっているゲームの読み放題法を掴みたいなどという人限定に、ここでしか入手不可能な漫画や読み放題法を様々にご紹介しております。
キングダムの人気に関して言うと、立て続けに企画・開発され、大ブレークしたゲームが牽引しているわけです。
さらにその先導者的な役割を担っているのが、ガンホーの「パズル&ドラゴンズ」だと思われます。
昨今のスマホやタブレットの為のアプリの基調をリサーチすると、アプリの仕様が着実にネイティブアプリに引き返されつつあると言えそうです。